Sending Messages
Introduction
Bots have to send messages to deliver information and present an interface for their functionality. BotMan can send messages in several different ways, depending on the type and number of messages that will be sent.
Single message replies to incoming commands can be sent using the $bot->reply() function.
Multi-message replies, particularly those that present questions for the end user to respond to,
can be sent using the $bot->startConversation() function and the related conversation sub-functions.
Bots can originate messages - that is, send a message based on some internal logic or external stimulus - using $bot->say() method.
Single Message Replies
Once a bot has received a message using hears(), you may send a response using $bot->reply().
This is the simplest way to respond to an incoming command:
$botman->hears('keyword', function (BotMan $bot) {
    $bot->reply("Tell me more!");
});
A common use case would be to not only send plain-text messages, but to also include images or videos.
You may do this by composing your message using the Message class. This class takes care of transforming your data for each
individual messaging service.
use Mpociot\BotMan\Messages\Message;

$botman->hears('keyword', function (BotMan $bot) {
    // Build message object
    $message = Message::create('This is my text')
                ->image('http://www.some-url.com/image.jpg');

    // Reply message object
    $bot->reply($message);
});
For Slack Realtime API, you can upload a file like so:
$botman->hears('give file to me', function (BotMan $bot) {
    // Build message object
    $message = Message::create('This is my comment for the uploaded file')
                ->filePath('/tmp/file.mp3');

    // Reply message object
    $bot->reply($message);
});
Type Indicators
To make your bot feel and act more human, you can make it send "typing ..." indicators.
$botman->hears('keyword', function (BotMan $bot) {
    $bot->typesAndWaits(2);
    $bot->reply("Tell me more!");
});
This will send a typing indicator and sleep for 2 seconds, before actually sending the "Tell me more!" response.
Please note, that not all messaging services support typing indicators. If it is not supported, it will simply do nothing and just reply the message.
Originating Messages
BotMan also allows you to send messages to your chat users programatically. You could, for example, send out a daily message to your users that get's triggered by your cronjob.
The easiest way is to just specify the driver-specific recipient ID when calling the say method.
$botman->say('Message', 'my-recipient-user-id');
You may also specify the messaging driver if you know it:
$botman->say('Message', 'my-recipient-user-id', TelegramDriver::class);
Just as the regular reply method, this method also accepts either simple strings or Message objects.
Sending Facebook Templates
BotMan supports all the main Facebook templates like Button, Generic, List and the Receipt. All of them are available through an expressive and easy API.
{callout-info} Facebook is still experimenting a lot with its Messenger features. This is why some of them behave differently on certain platforms. General it is easy to say that all of them work within the native Messenger on your phones. But e.g. the List Template cover image is not working inside the Facebook website chat and the online Messenger.
Button Template
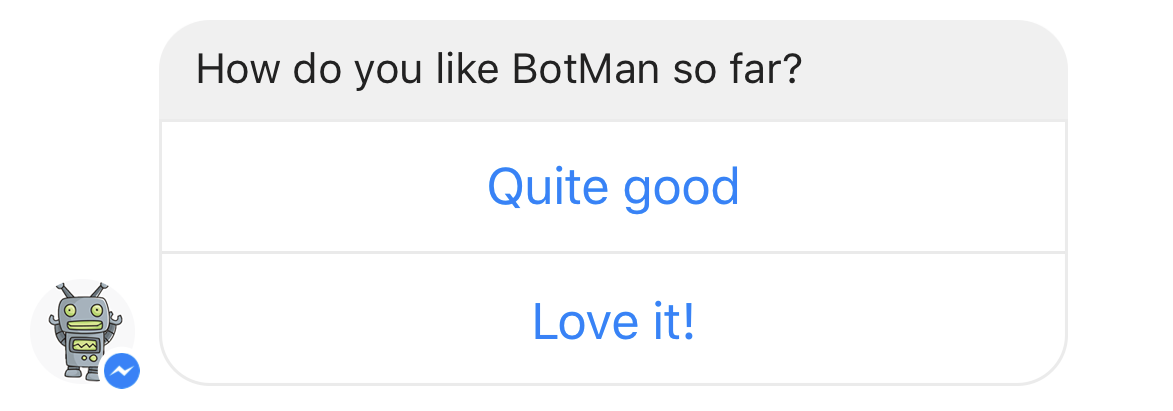
A Button Template is a text with several user input options. (buttons) The template uses ElementButtons which are different from the buttons you use for BotMan Questions. There are two types of ElementButtons. The default one is the web_url button which only needs an url next to the title. It links to an external website. Secondly we have postback buttons. They will trigger Facebook postback actions. They require the type postback and a payload which is the text that Facebook will send to BotMan when a user hits this button.
$bot->reply(ButtonTemplate::create('Do you want to know more about BotMan?')
	->addButton(ElementButton::create('Tell me more')->type('postback')->payload('tellmemore'))
	->addButton(ElementButton::create('Show me the docs')->url('http://botman.io/'))
);
Generic Template

A Generic Template is a horizontal scrollable carousel of elements. Every element requires at least a title which is provided through the static create method. Additionally it can have a subtitle, image and buttons.
$bot->reply(GenericTemplate::create()
	->addElements([
		Element::create('BotMan Documentation')
			->subtitle('All about BotMan')
			->image('http://botman.io/img/botman-body.png')
			->addButton(ElementButton::create('visit')->url('http://botman.io'))
			->addButton(ElementButton::create('tell me more')
				->payload('tellmemore')->type('postback')),
		Element::create('BotMan Laravel Starter')
			->subtitle('This is the best way to start with Laravel and BotMan')
			->image('http://botman.io/img/botman-body.png')
			->addButton(ElementButton::create('visit')
				->url('https://github.com/mpociot/botman-laravel-starter')
			)
	])
);
List Template
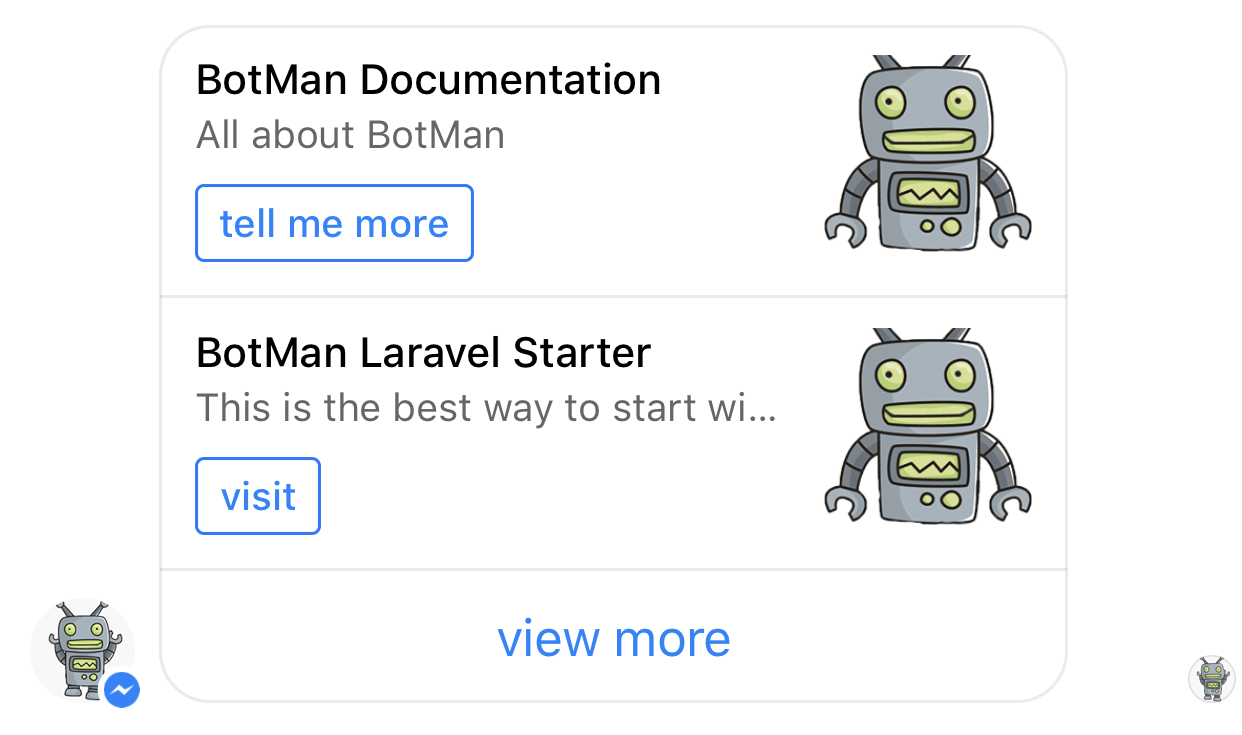
The List Template is a template that allows you to present a set of elements vertically. The default list will set the first element as a cover image. If you don't want a cover image call the useCompactView() method. Additionally to the elements your list can have one global button too. This is when you need the addGlobalButton(...) method.
$bot->reply(ListTemplate::create()
	->useCompactView()
	->addGlobalButton(ElementButton::create('view more')->url('http://test.at'))
	->addElement(
		Element::create('BotMan Documentation')
			->subtitle('All about BotMan')
			->image('http://botman.io/img/botman-body.png')
			->addButton(ElementButton::create('tell me more')
				->payload('tellmemore')->type('postback'))
	)
	->addElement(
		Element::create('BotMan Laravel Starter')
			->subtitle('This is the best way to start with Laravel and BotMan')
			->image('http://botman.io/img/botman-body.png')
			->addButton(ElementButton::create('visit')
				->url('https://github.com/mpociot/botman-laravel-starter')
			)
	)
);
Receipt Template
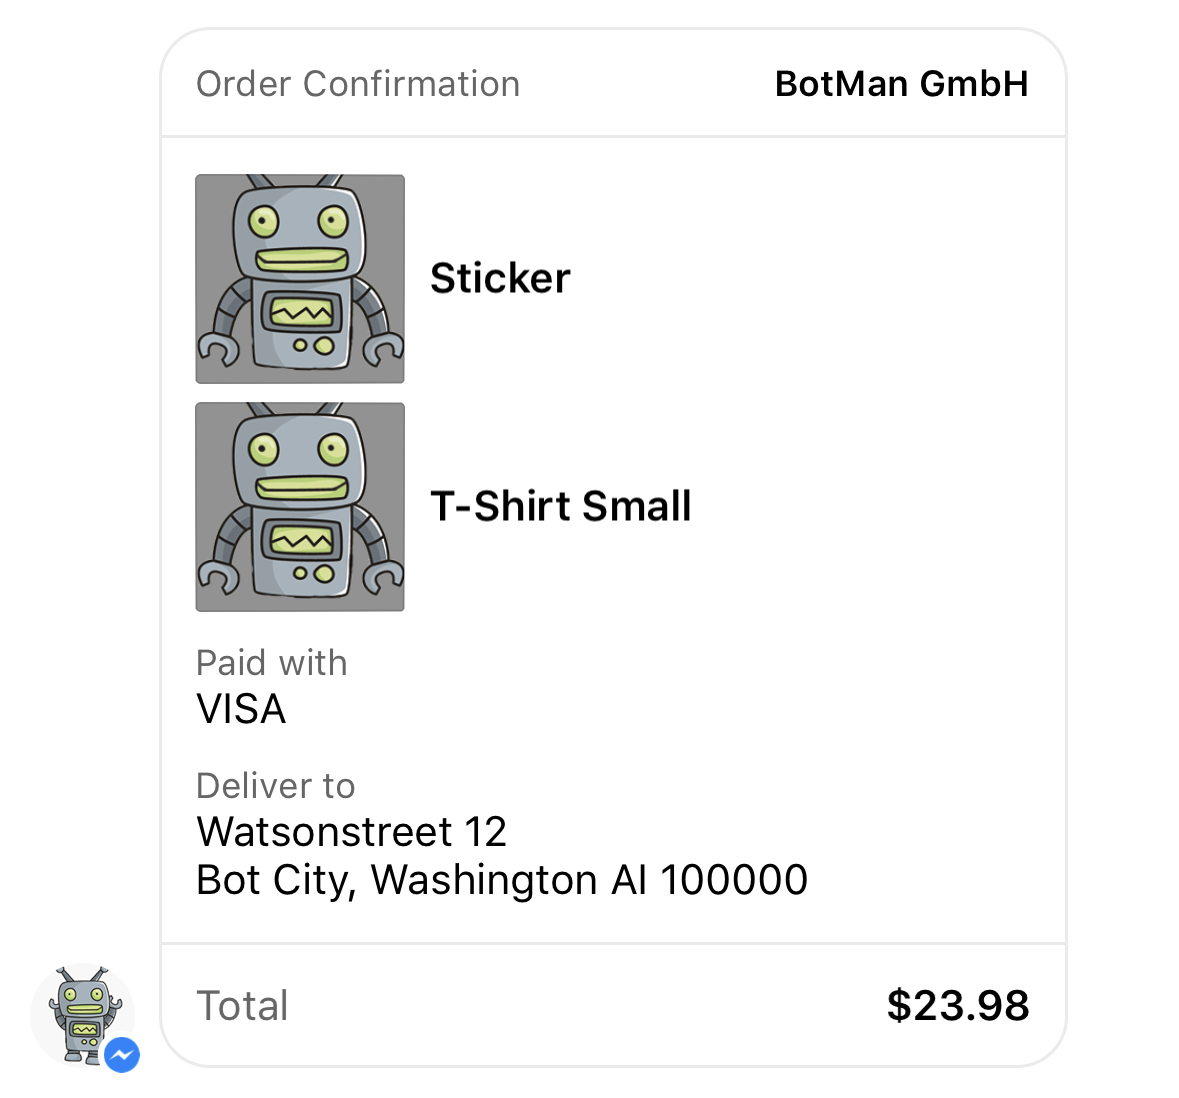
Use the Receipt Template to send a order confirmation, with the transaction summary and description for each element. This template differs a lot from the others. This is why there are custom ReceiptElements and lots of other custom fields. Checkout the official Facebook documentation and the example below to see all the possibilities. In your Messenger you can click the template to see all of the information.
$bot->reply(
	ReceiptTemplate::create()
		->recipientName('Christoph Rumpel')
		->merchantName('BotMan GmbH')
		->orderNumber('342343434343')
		->timestamp('1428444852')
		->orderUrl('http://test.at')
		->currency('USD')
		->paymentMethod('VISA')
		->addElement(ReceiptElement::create('T-Shirt Small')->price(15.99)->image('http://botman.io/img/botman-body.png'))
		->addElement(ReceiptElement::create('Sticker')->price(2.99)->image('http://botman.io/img/botman-body.png'))
		->addAddress(ReceiptAddress::create()
			->street1('Watsonstreet 12')
			->city('Bot City')
			->postalCode(100000)
			->state('Washington AI')
			->country('Botmanland')
		)
		->addSummary(ReceiptSummary::create()
			->subtotal(18.98)
			->shippingCost(10 )
			->totalTax(15)
			->totalCost(23.98)
		)
		->addAdjustment(ReceiptAdjustment::create('Laravel Bonus')->amount(5))
);